Applications
 Part of the Oxford Instruments Group
Expand
Collapse
 Part of the Oxford Instruments Group
With Imaris 9.9 Imaris now imports segmentation results from open source softwares as Surfaces. Open source users can now enhance their results with the power of Imaris statistics, analysis, and presentation tools.
One popular software is ilastik and this guide will illustrate how to import ilastik pixel classification results as label images (h5 or tiff). Imaris defines label images as an integer image where each integer value encodes a different type of region and “0” is interpreted as background. Additional information for Imaris and label images is found in the Imaris 9.9 Release Notes.
Instructions for importing ilastik label images:
1. ilastik provides a number of guides and tutorials for their software. You’ll find their Pixel Classification Workflow useful if you’ve not used ilastik in the past.
2. Within ilastik follow most steps of the workflow linked above with your image of interest, including image import, feature selection, and iterative classifier training.
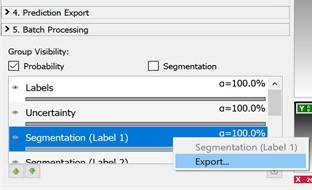
3. Once the classification prediction is satisfactory export each segmentation individually. That is, export individual label image files from the segmentation layers of interest. Learn more about ilastik layers here.

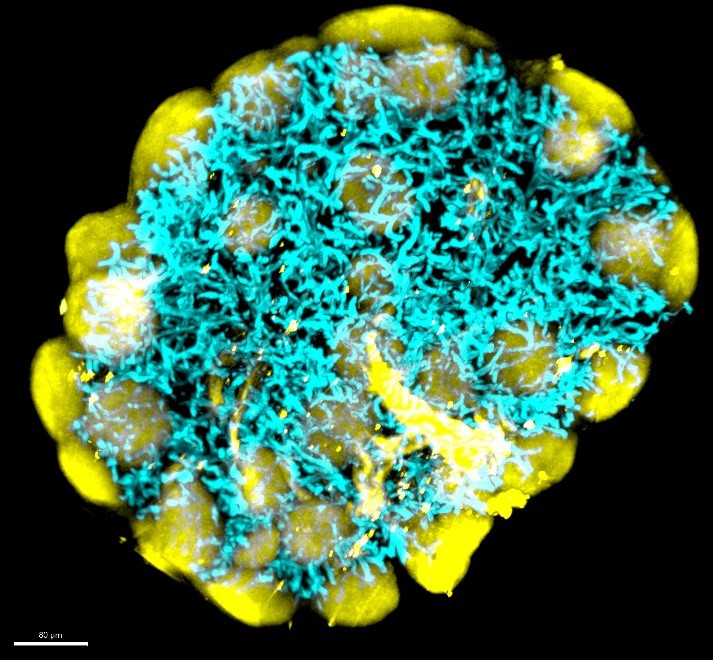
4. To then import the label image(s) into Imaris first open the raw microscopy image in Imaris.

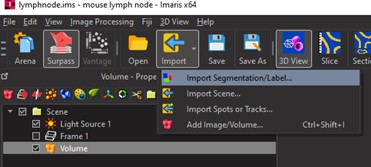
5. Then click the Import button within the main toolbar of the Surpass View. Select your tiff or h5 file representing your label image.

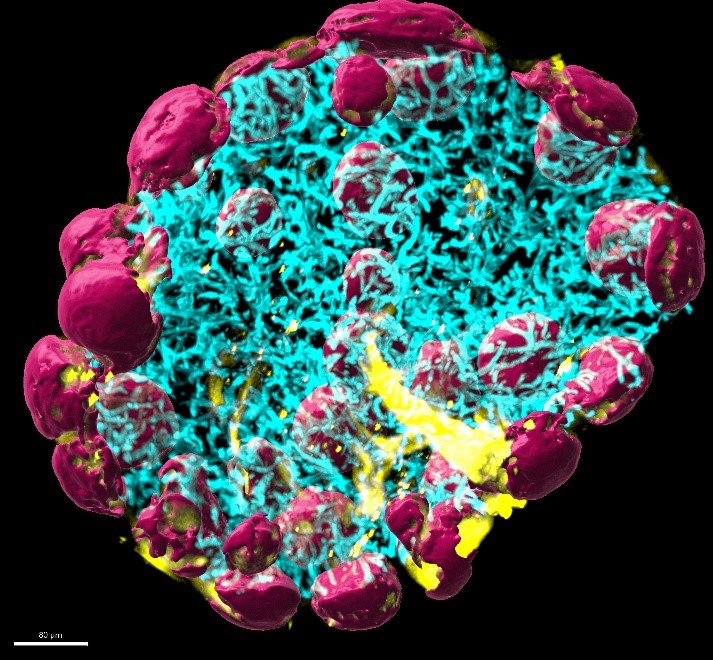
6. Imaris will then create a Surfaces component, import the label image, and create surface objects from it.

7. Continue to import label images as Surfaces components until all segmentation results from ilastik have been added to your Imaris image file.
8. From here use the comprehensive analysis tools of Imaris to complement and extend your existing results. Options for extending your ilastik results include machine learning object classification, spatial analysis, and 3D animation & snapshot tools.
Date: March 2022
Author: Meredith Price
Category: Technical Article
