Applications
 Part of the Oxford Instruments Group
Expand
Collapse
Part of the Oxford Instruments Group
Technical Article
Author: Meredith Price
Published: 01 Mar 2022 · Last updated: 25 Mar 2025
With Imaris 9.9 Surface Creation Wizards now have the option of using Labkit, a Fiji plug-in for machine learning pixel classification. The image sharing across Imaris and Fiji is via the ImgLib2-Imaris Bridge and requires the Imaris XT license.
Machine learning pixel classification may provide results in cases where Imaris Surfaces isn’t well suited.
Instructions for using Labkit for Imaris:
1. Open your image in Imaris and add the Surface component to start the Surface Creation Wizard.
2. At the Source Channel/Thresholding step choose “Labkit for Pixel Classification” and decide if your experiment requires using 1 or all channels for the segmentation.
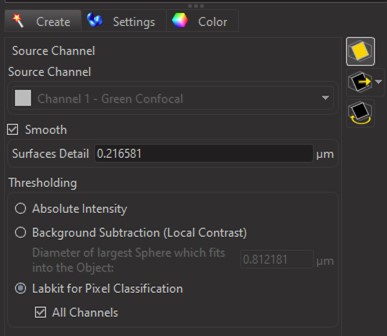
3. Then click the blue "next" button. Imaris will start Fiji and send the image to Labkit.
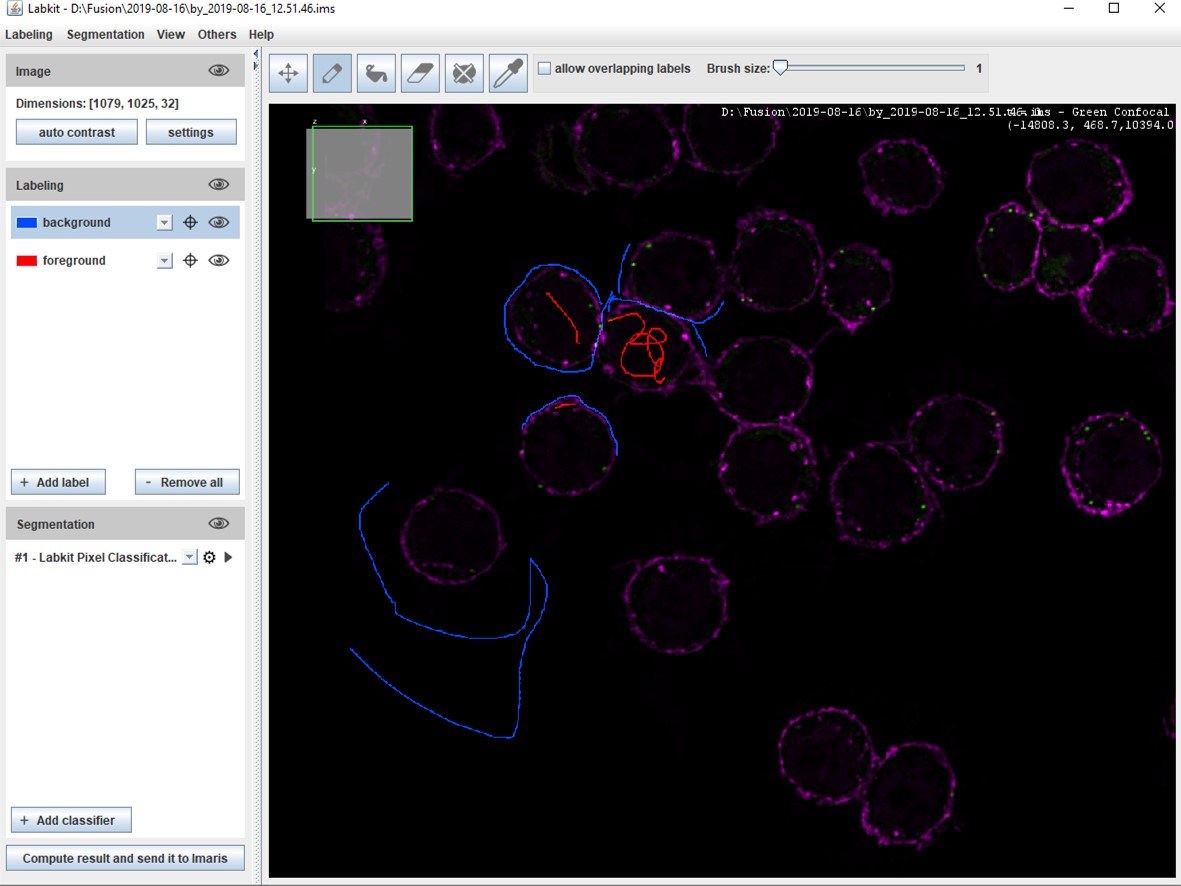
4. Inside the Labkit UI you’ll see your image within a BDV-like viewer. e. you will see a 2D plane from the image and you can scroll through those planes.
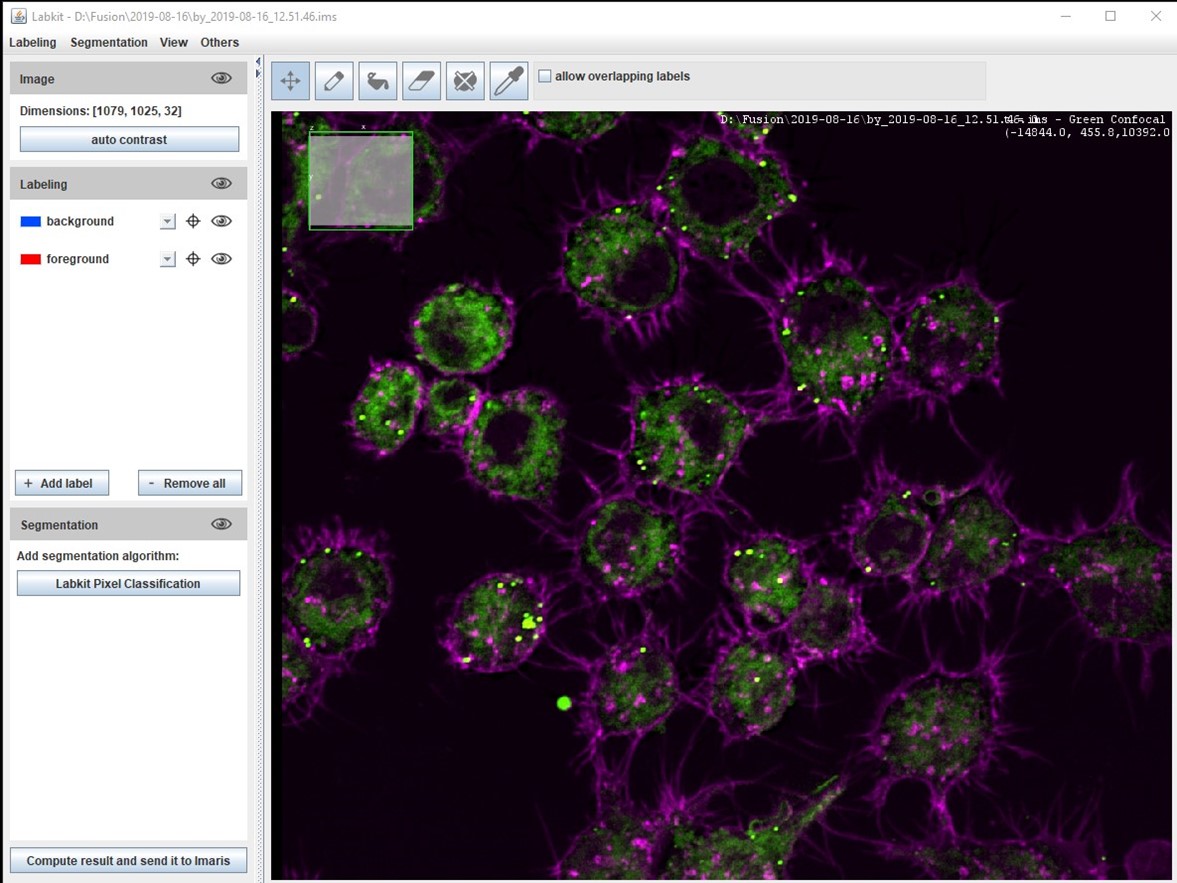
5. Once you’ve adjusted your channel(s) display and are ready to train the classifier switch to the pen tool in the top menu bar. The size of the pen “tip” is adjusted with the brush size slider and by default the background label is selected. Then proceed to draw on your image to train the classifier what you consider to be background.
6. Switch to the foreground label and draw on the image to train the classifier as to what you consider to be foreground.
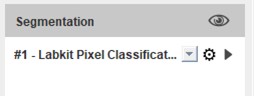
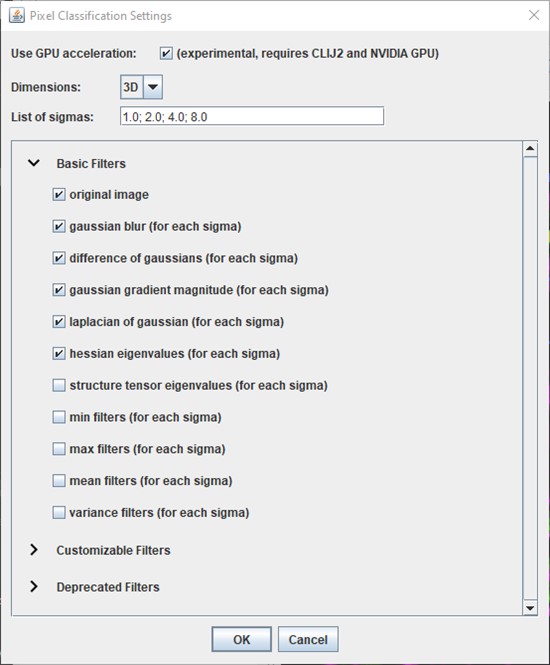
7. After you’ve finished drawing click on the “Labkit Pixel Classification” button under Segmentation and then click the “gear” icon to access the “Pixel Classification Settings” Window. Here you will turn on GPU acceleration. This Labkit feature is dependent upon previous installation of the CLIJ and CLIJ2 plug-ins as well as appropriate hardware. Then click “OK”. (Additional options are available in this dialog. We recommend working with the Labkit defaults at first.)
8. To send your drawings to the classifier click the “play” button (triangle pointing to the right) under Segmentation. A “Training in Progress” dialog will appear and then the results will appear in a blockwise manner.
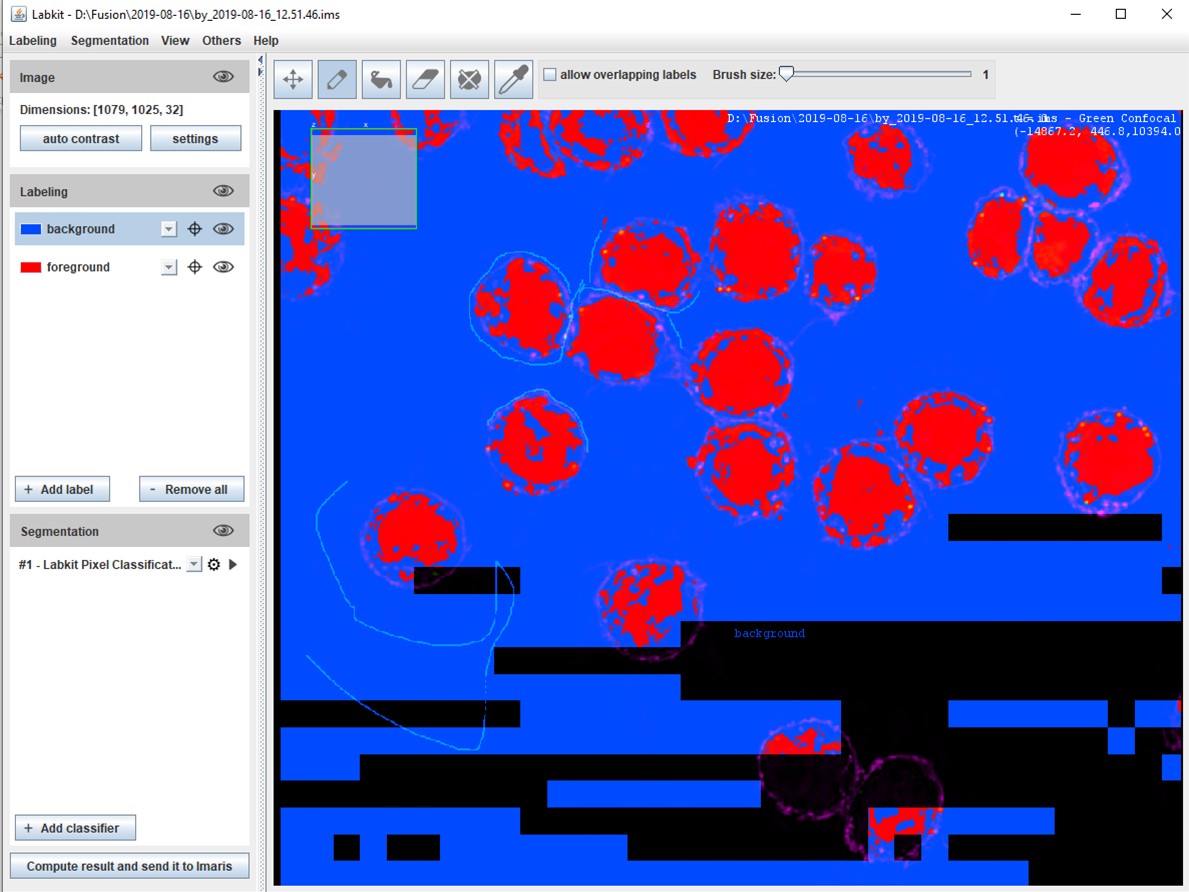
9. If you are not satisfied with the results continue with iterations of drawing, training the classifier, and inspecting your results. Once you are satisfied click the “Compute result and send it to Imaris” button in the bottom left hand corner of the Labkit window. A new window displaying Labkit’s progress is displayed.
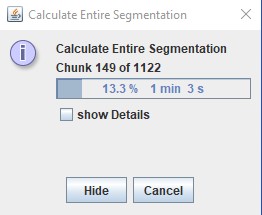
10. Once the entire segmentation has been calculated by Labkit the image will appear in Imaris and the Surfaces Creation Wizard is now on the “Split touching Objects” step.
11. Continue through the Surfaces Creation Wizard to further perfect your segmentation results with object splitting, filtering by statistics, and machine learning object classification.

© Oxford Instruments 2026